The Beginner's Guide to Letter Writing with a Dip Pen
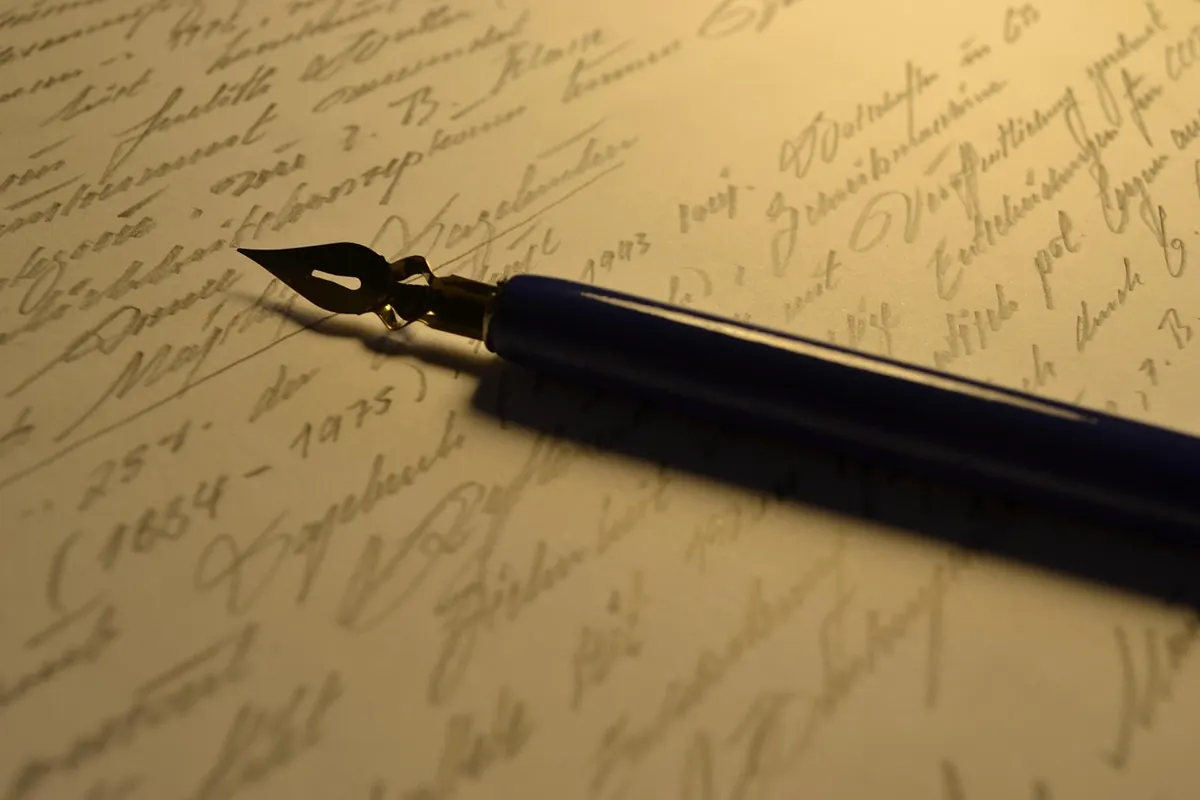
A dip pen is the plainest writing instrument there is: a metal nib, a holder, a bottle of ink. No feed, no cartridge, no click. You dip, you write, you dip again. That bareness is the point. Nothing hides between your hand and the page, so every change in pressure shows up in the line. Learn on a dip pen and your handwriting improves faster than it will with anything else.
This guide is for someone who has bought a nib, or is about to, and wants to write an actual letter rather than practise alphabets indefinitely. Below: the tools worth starting with, paper that will not fight you, the strokes to drill first, and a simple way to lay out a page so the finished letter looks considered.
Stationery shops sell calligraphy sets with twenty nibs in a tin. Most of those nibs are for tasks you will never do, and the holder is usually the weakest piece in the box. Buy three things instead and put the saved money into paper.
New nibs leave the factory with a thin film of oil on them, and that film repels ink. A nib that skips and refuses to hold a reservoir on day one is usually just dirty. Scrub it gently with an old toothbrush and a dab of toothpaste or mild soap, rinse, dry it thoroughly, and try again. The difference is immediate.
Rinse and dry the nib after every session. Pigmented and acrylic inks dry waterproof and will cement themselves into the slit; iron gall inks are acidic and will slowly eat a nib left coated. Neither is dramatic, but a nib that is wiped clean lasts years instead of months. Store nibs dry, away from damp.
Ink behaves according to the paper underneath it. A cheap, lightly sized sheet will feather every stroke into a fuzzy spider, and no amount of practice will fix it. You want paper that is smooth, reasonably opaque, and treated so ink sits on the surface instead of soaking straight through.
Look for 90 to 120 gsm writing paper with a hard, closed surface. Hot-press watercolour paper works beautifully. Smooth correspondence pads from Clairefontaine or Rhodia are reliable and easy to find. Lightly textured laid or wove stationery is lovely to receive but harder to write on with a fine nib, so save it for the second draft rather than the practice sheet.
Before committing to a nice pad, run a two-minute test on a corner: draw a thick downstroke, wait ten seconds, and turn the sheet over. If you can see a ghost of the stroke but no blob, the paper is fine. If the line spreads into fibres, put the pad back on the shelf. Two other habits save trouble: keep a scrap sheet under your writing hand so skin oils never touch the page, and write over a guide sheet rather than ruling pencil lines you will have to erase.
Copying a finished alphabet stroke by stroke is discouraging, because letters are made of parts and the parts are what need work. Spend ten or fifteen minutes on drills before you attempt words, and keep the drills slow. Speed comes later, and only by accident.
Set up properly first. Sit square to the desk, feet flat, forearm resting lightly, pen held at roughly forty-five degrees with the nib slit facing up. Grip the holder as you would a pencil, but looser than feels natural. For pointed pen work, upstrokes are made with almost no pressure and downstrokes with a gentle flex, which is where the thick-thin contrast comes from. For a broad edge, the nib stays at a fixed angle to the baseline and the pen is never rotated; thick strokes are the diagonals, thin strokes the verticals.
Drill these, in this order:
Rhythm beats neatness. Aim for an even count and consistent pressure, and the neatness arrives on its own within a couple of weeks.
Good formatting is mostly arithmetic done once, then forgotten. Decide the margins, decide the line spacing, and hold to both for the whole page.
For the envelope, write the recipient's address in the centre-right block, your return address in small writing at the top left, and leave the top right clear for the stamp. Use the same nib and ink as the letter, and let it dry flat for several minutes before it goes anywhere near a mail slot.
Scratchy, catching strokes. Either the nib still carries factory oil, or you are pressing too hard on the upstroke. Hold the nib up to a lamp: the two tines should meet exactly at the tip with no gap and no overlap.
Blobs. You are dipping too deep. Ink only needs to reach the vent hole, roughly halfway up the nib. Blot the nib on the jar rim before writing, and do not pause mid-stroke with a full nib.
Skipping or railroading (a line splitting into two thin tracks). Slow the downstroke, increase pressure slightly, or switch to a paper with a little more tooth. Oily paper causes it too.
Feathering and bleed-through. This is the paper, not you. Move to something harder and better sized before you blame your hand.
Choose one person who would be glad to hear from you, take a single sheet of your best-behaved paper, and write four sentences without drafting. Allowing yourself one scrapped page is part of the process; treat it as the cost of the second, better one. Write slowly enough to enjoy the sound of the nib, sign it, and post it before you have time to decide it is not good enough. The practice that follows will be far more useful once someone has actually read the result.
Photo: poor_student / Pixabay
Previous Post
How to Build a Compact Stationery Drawer That Actually Stays Tidy
Next Post
7 Common Mistakes in Home Desk Setup and How to Fix Them